ViewFinder拍照重建

复刻viewfinder核心玩法————拍照并重建(1)

Github源码传送门————>CaptureRebuild_ViewFinder

Bilibili教程传送门————>小祥带你实现Viewfinder自定义渲染流水线及动态高斯模糊
1.整体思路

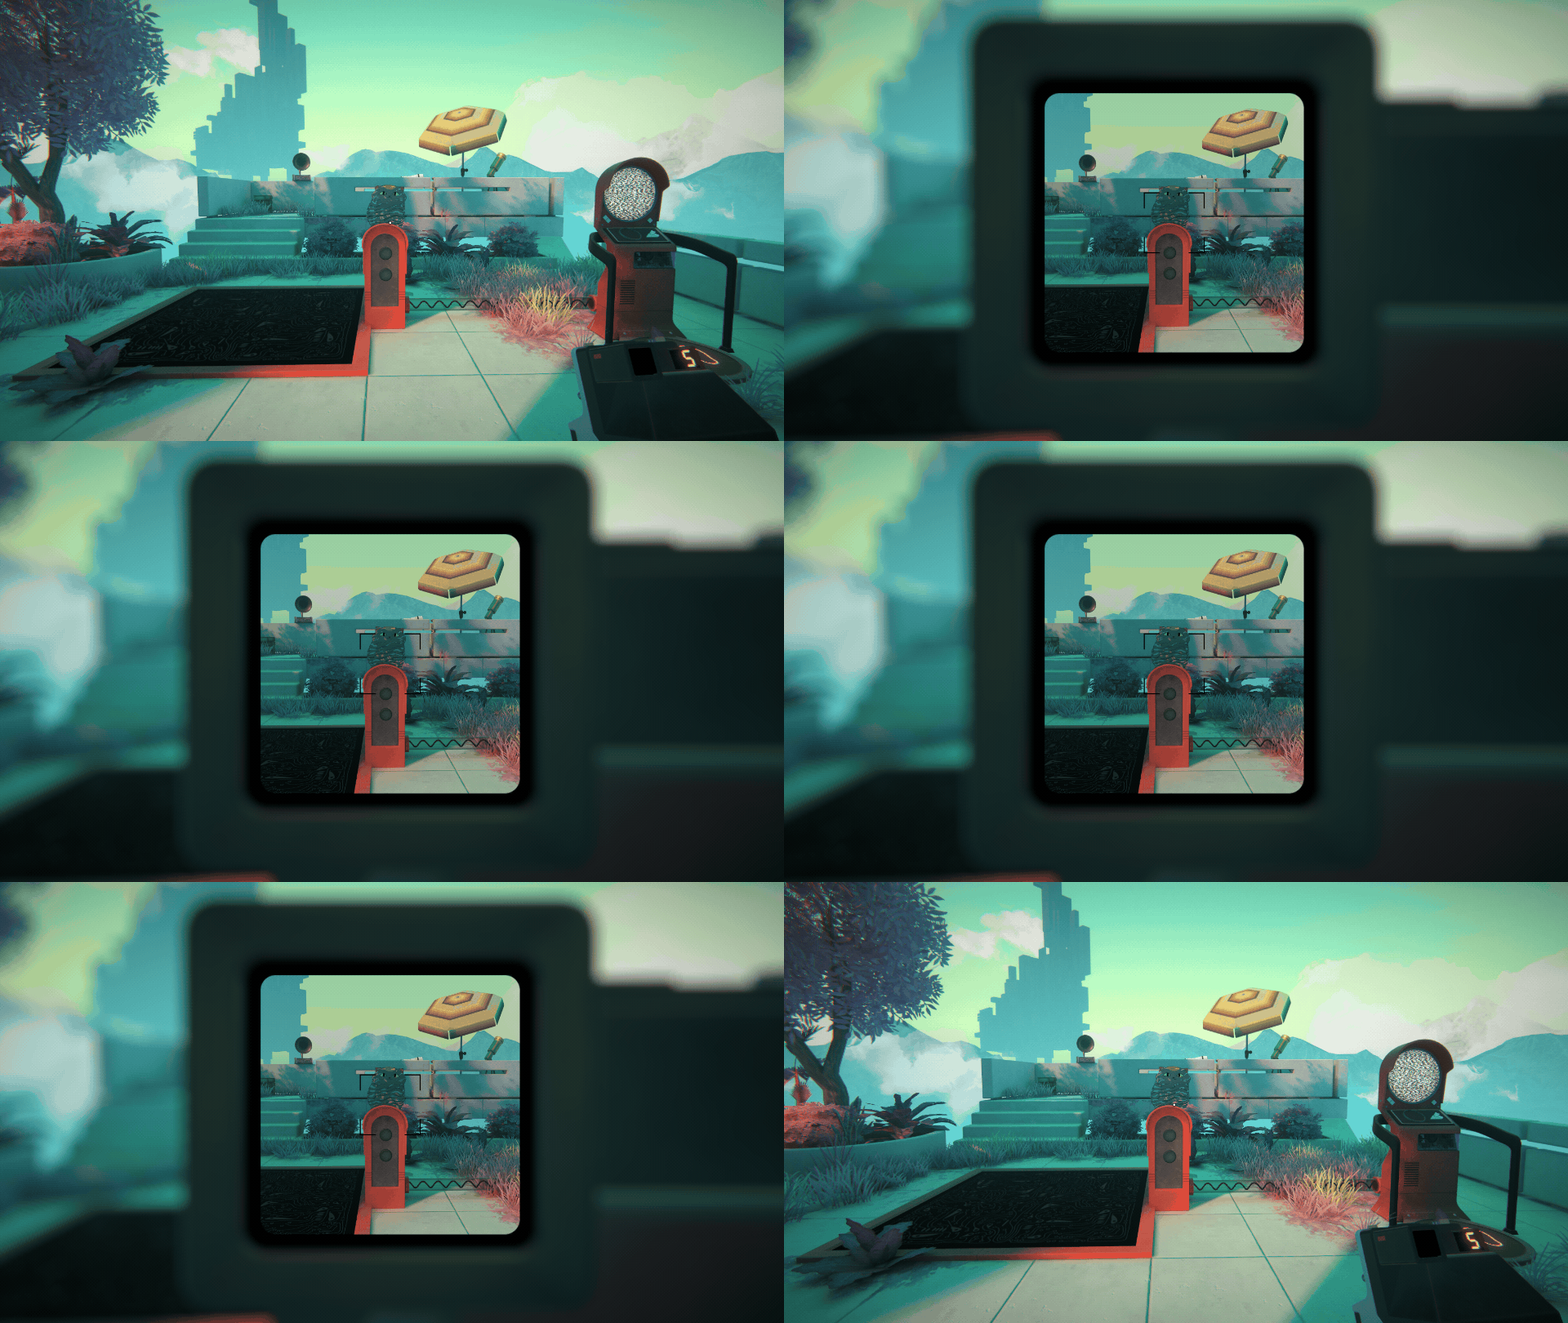
本期要做的是高斯模糊的后处理效果,同时看实机画面,在拍立得靠近的过程中,高斯模糊强度是逐渐变化的且相机取景器并没受到后处理影响依然保持清晰。那么思路很简单,只要在渲染取景器之前对画面进行高斯模糊后处理,然后取景器正常渲染叠加在模糊后的画面上即可,所以这次我们使用URP,复习一下可编程渲染管线如何做后处理以及规划渲染顺序。

2.BlurShader

经典一维13采样点高斯模糊实现:

1
2
3
4
5
6
7
8
9
10
11
12
13
14
15
16
17
18
19
20
21
float2 _BlurDirection;
float _BlurSize;
uniform float _Weights[13];

float4 BlurFrag(Varyings input) : SV_Target
{
float2 uv = input.texcoord;
float4 color = 0;

float2 offsetScale = _BlurSize / _ScreenParams.xy;
float2 offset = _BlurDirection * offsetScale;

[unroll]
for(int i = -6; i <= 6; i++)
{
int weightIndex = i + 6;
color += SAMPLE_TEXTURE2D(_BlitTexture, sampler_LinearClamp, uv + offset * i) * _Weights[weightIndex];
}

return color;
}
  • _BlurSize:模糊强度,单位是像素数,也就是模糊时采样点每次偏移几个像素
  • _BlurDirection:偏移向量,也就是在哪个方向偏移(一般是纵横两个方向)
  • offsetScale:模糊强度除以屏幕宽高将模糊强度规范到UV空间内
  • offset:模糊方向乘以规范后的模糊强度,计算出采样偏移量
  • SAMPLE_TEXTURE2D循环采样当前像素偏移后的颜色,然后乘以对应的高斯权重,叠加到最终颜色
  • _BlitTexture是后续在Pass中通过Blit方法写入的贴图,sampler_LinearClamp的采样模式保证在采样屏幕边缘像素时不会越界

4.CameraBlurRenderFeature

URP中拓展渲染流程首先创建自定义渲染特性(ScriptableRendererFeature),类似插件入口用于创建并注册一个或多个Pass。需要在UniversalRenderData.assets文件中添加我们的自定义特性,然后在Camera组件选择添加了特性的Renderer,我们的特性就可以生效了。

1
2
3
4
5
6
7
8
9
10
11
12
13
14
15
16
17
18
19
20
21
22
23
24
25
26
27
28
29
30
31
32
33
34
35
36
37
38
39
40
41
42
public class CameraBlurRenderFeature : ScriptableRendererFeature
{
public CameraBlurRPSettings cameraBlurRPSettings;
public UnblurredRPSettings unblurredRPSettings;

private CameraBlurRenderPass cameraBlurRenderPass;
private UnblurredRenderPass unblurredRenderPass;

public override void Create()
{
if (cameraBlurRPSettings != null)
{
cameraBlurRenderPass = new CameraBlurRenderPass(cameraBlurRPSettings);
}

if (unblurredRPSettings != null)
{
unblurredRenderPass = new UnblurredRenderPass(unblurredRPSettings);
}
}

public override void AddRenderPasses(ScriptableRenderer renderer, ref RenderingData renderingData)
{
if (cameraBlurRenderPass != null)
{
renderer.EnqueuePass(cameraBlurRenderPass);
}

if (unblurredRenderPass != null)
{
renderer.EnqueuePass(unblurredRenderPass);
}
}

protected override void Dispose(bool disposing)
{
if (disposing && cameraBlurRenderPass != null)
{
cameraBlurRenderPass.Dispose();
}
}
}
  • 继承自ScriptableRendererFeature,重写Create进行一些初始化操作,重写AddRenderPasses添加自定义Pass到渲染流水线中
  • cameraBlurRPSettings,unblurredRPSettings 是序列化配置类,通过这种方式将一些参数、shader、贴图等传入到Pass中进行使用,同时显示在面板上方便修改

5.CameraBlurRenderPass

第二步是实现具体Pass(ScriptableRenderPass),它是实际执行渲染命令的类,比如设置目标、处理图像、执行绘制等。

1
2
3
4
5
6
7
8
9
10
11
12
13
14
15
16
17
18
19
20
21
22
23
24
25
26
27
28
29
30
31
32
33
34
35
36
37
38
39
40
41
42
43
44
45
46
47
48
49
50
51
52
53
54
55
56
57
58
59
60
61
62
63
64
65
66
67
68
public class CameraBlurRenderPass : ScriptableRenderPass
{
private Material blurMaterial;
private RTHandle cameraColorTargetHandle;
private RTHandle rtHandler;
private CameraBlurVolumeComponent blurVolume;
private RenderTextureDescriptor textureDescriptor;

private float[] weights;

private void NormalizeWeights()
{
weights = new float[]
{
0.0030f, 0.0133f, 0.0298f, 0.0510f, 0.0702f, 0.0862f, 0.0939f, 0.0862f, 0.0702f, 0.0510f, 0.0298f, 0.0133f, 0.0030f
};

float weightSum = weights.Sum();
weights = weights.Select(weight => weight / weightSum).ToArray();
}

public CameraBlurRenderPass(CameraBlurRPSettings settings)
{
NormalizeWeights();

GameObject.Find("GlobalVolume")?.GetComponent<Volume>()?.profile.TryGet(out blurVolume);

renderPassEvent = RenderPassEvent.BeforeRenderingPostProcessing - 1;

blurMaterial = CoreUtils.CreateEngineMaterial(settings.blurShader);
blurMaterial.SetFloat("_BlurSize", 0f);
blurMaterial.SetFloatArray("_Weights", weights);
}

public override void Configure(CommandBuffer cmd, RenderTextureDescriptor cameraTextureDescriptor)
{
textureDescriptor = cameraTextureDescriptor;
textureDescriptor.graphicsFormat = GraphicsFormat.B10G11R11_UFloatPack32;
textureDescriptor.depthBufferBits = 0;

RenderingUtils.ReAllocateIfNeeded(ref rtHandler, textureDescriptor, wrapMode: TextureWrapMode.Clamp, name: "_BlurRT");
}

public override void Execute(ScriptableRenderContext context, ref RenderingData renderingData)
{
CommandBuffer cmd = CommandBufferPool.Get("CameraBlur");
cameraColorTargetHandle = renderingData.cameraData.renderer.cameraColorTargetHandle;
if (cameraColorTargetHandle.rt == null) return;

if (blurVolume == null || !blurVolume.enableCameraBlur.value) return;
blurMaterial.SetFloat("_BlurSize", blurVolume.blurSize.value);

blurMaterial.SetVector("_BlurDirection", new Vector2(1.0f, 0.0f));
Blit(cmd, cameraColorTargetHandle, rtHandler, blurMaterial);

blurMaterial.SetVector("_BlurDirection", new Vector2(0.0f, 1.0f));
Blit(cmd, rtHandler, cameraColorTargetHandle, blurMaterial);

context.ExecuteCommandBuffer(cmd);
CommandBufferPool.Release(cmd);
}

public void Dispose()
{
rtHandler?.Release();
rtHandler = null;
}
}
  • 继承自ScriptableRenderPass,主要重写Execute,在这里自定义渲染时的具体操作
  • 析构函数一般做一些初始化操作,比如设置当前Pass在流水线中的渲染顺序,创建材质并初始化材质属性等
  • renderPassEvent设置渲染顺序,因为除了高斯模糊的后处理效果,取景器可能还要应用其他后处理效果,所以取景器的渲染我们放在BeforeRenderingPostProcessing,那么顺理成章我们模糊效果的渲染应该放在取景器渲染之前,那么就是BeforeRenderingPostProcessing-1
  • NormalizeWeights归一化高斯权重,保持模糊后的图像亮度不变(shader中我们的操作是从当前像素周围多个像素采样颜色,然后对每个像素乘以一个权重再加起来,如果权重总和大于1颜色会变亮,反之变暗)
  • Configure中根据相机情况动态调整RenderTextureDescriptor,同时使用 RenderingUtils.ReAllocateIfNeeded方法避免不必要的RT重新分配,提高渲染性能
1
2
3
4
5
6
7
8
9
10
11
12
13
14
15
16
17
18
19
20
21
22
23
24
25
public class UnblurredRenderPass : ScriptableRenderPass
{
private ShaderTagId shaderTagId;
private DrawingSettings drawingSettings;
private FilteringSettings filteringSettings;
private RenderStateBlock renderStateBlock;

public UnblurredRenderPass(UnblurredRPSettings settings)
{
renderPassEvent = RenderPassEvent.BeforeRenderingPostProcessing;

shaderTagId = new ShaderTagId(settings.unblurredShaderTagId);
filteringSettings = new FilteringSettings(RenderQueueRange.all, settings.unblurredLayMask);
renderStateBlock = new RenderStateBlock(RenderStateMask.Nothing);
}

public override void Execute(ScriptableRenderContext context, ref RenderingData renderingData)
{
CommandBuffer cmd = CommandBufferPool.Get("Unblurred");
drawingSettings = CreateDrawingSettings(shaderTagId, ref renderingData, SortingCriteria.CommonOpaque);
context.DrawRenderers(renderingData.cullResults, ref drawingSettings, ref filteringSettings, ref renderStateBlock);
context.ExecuteCommandBuffer(cmd);
CommandBufferPool.Release(cmd);
}
}
  • filteringSettings中填取景器所在的Layer,指示这个Pass只渲染取景器
  • shaderTagId对应shader中的LightMode,记得在渲染取景器的shader中添加对应的tag

6.CameraBlurVolumeComponent

根据需求添加自定义VolumeComponent,方便我们对渲染过程中的一些参数进行控制。

1
2
3
4
5
6
7
[Serializable]
[VolumeComponentMenu("Custom/CameraBlur")]
public class CameraBlurVolumeComponent : VolumeComponent
{
public BoolParameter enableCameraBlur = new BoolParameter(false);
public ClampedFloatParameter blurSize = new ClampedFloatParameter(0f, 0f, 5f);
}
  • 在场景中创建一个Volume组件并添加CameraBlur覆盖(AddOverride)
1
GameObject.Find("GlobalVolume").GetComponent<Volume>().profile.TryGet(out blurVolume);
  • 要通过代码控制属性的话需要获取场景中的Volume实例,并从profile中获取我们自定义的VolumeComponent

完结撒花~


ViewFinder拍照重建
https://baifabaiquan.cn/2025/04/12/CaptureRebuild_ViewFinder_0/
作者
白发败犬
发布于
2025年4月12日
许可协议